
Today I thought I'd do a quick and easy 'How to' for water marble nails. I recently tried out doing my own acrylic nail extensions and am having fun trying out different styles.
Here's an image from last week's nail art.
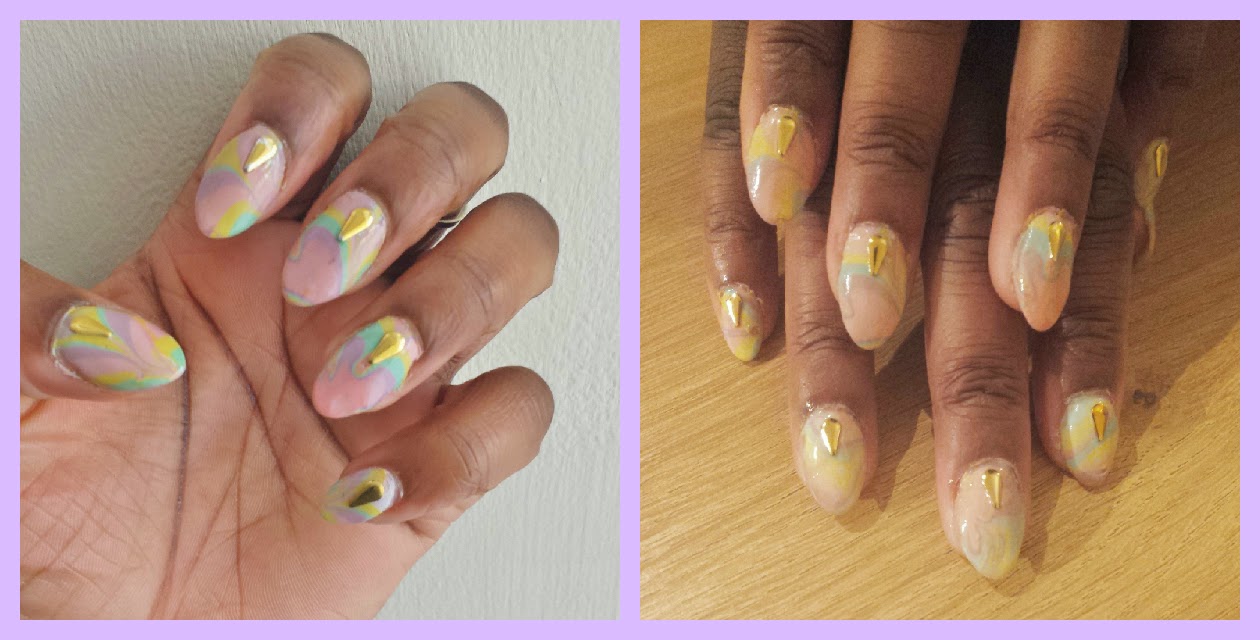
So this week I've gone for some pastel tones in a marble effect, with gold gems for a fun finished look.

You will need:
- Base coat
- White nail varnish
- A selection of pastel tones
- Gems (I got this wheel of gems from poundland)
- Water in a dish or glass
- Nail varnish remover
- Cotton buds
- White nail varnish
- A selection of pastel tones
- Gems (I got this wheel of gems from poundland)
- Water in a dish or glass
- Nail varnish remover
- Cotton buds

Step 1
Apply your base coat then cover nails with white polish. This will allow for the colours to stand out better.
Step 2
Using the brush, apply a drop of colour to the centre of the glass (it's best to keep the lids unscrewed to make changes easier). Repeat this using each colour until there are several rings of strong colour -I did it about 11 times.
 |
| (My flat is on a slant so everything drooped to one side...) |
Step 3
Use a wooden stick (nail art stick or tooth pick) and lightly drag the pint over areas of the circle moving from the outside to the centre each time.

Step 4
Make a claw shape with your fingers, dip onto the pattern, keeping your hand steady.

Step 5
It's a mess!!
Don't worry, just g around the edges with cotton buds dipped in nail varnish remover and tidy it up.
Step 6
Add a top coat before using a wooden nail art stick (adding a tiny dot of water to the end) to pick up the gems and apply to the nails.

Step 7
Add a final top coat and live life with gorgeous nails!
It is possible to get the same pattern on each nail by repeating the process on one nail at a time but I personally prefer the mismatched marble style and it's so much easier than doing each nail individually.
Give it a go!
Stay beautiful,

No comments:
Post a Comment